
Yes, you can oil paint on wood, but the surface must be properly prepared. Wood is a popular choice among artists for its durability and smooth surface.
Engaging with oil paints on wood opens a gateway to exploring the rich textures and robust hues that oil pigments offer. As a versatile canvas, wood provides a sturdy foundation for oil paintings, favored for its longevity and the fine detail it can hold.
Before beginning your oil painting journey on wood, it’s crucial to prime the surface with a quality sealer or gesso, ensuring that the oil does not seep into the wood grain and cause deterioration over time. A well-prepared wooden surface can elevate the vibrancy of your artwork and maintain its integrity for generations to admire, making it an excellent medium for both amateur and professional artists to express their creativity.
The Appeal Of Wood As A Canvas
The appeal of wood as a canvas is both traditional and modern.
Artists have used wood for centuries. Its natural grains bring life to paintings.
These grains add unique texture and depth. Oil paints look vibrant on this organic surface.
Wood is also sturdy and long-lasting. It’s perfect for art that stands the test of time.
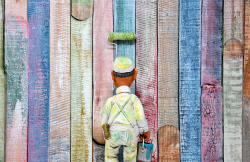
Credit: www.craftyarts.co.uk
Types Of Wood Suitable For Oil Painting
Oil painting on wood is an art form with a rich history. Artists must select the right wood species to ensure their work lasts. Suitable woods for oil painting include Basswood, Poplar, and Oak. These species offer a smooth surface with minimal grain. They allow paint to adhere well and not crack over time.
The wood grain and texture can dramatically affect the final piece. Woods with too much texture might absorb paint unevenly. This can make the painting look splotchy. Smooth-grained woods give a more even color after painting. The wood you choose could add character to your piece or be a smooth canvas.
Preparing The Wood Surface
Preparing the Wood Surface requires specific steps to ensure quality. Sanding the wood is vital for a smooth base. Uniform strokes with a fine-grit sandpaper work best.
Sealing the wood is next. A sealant stops moisture which can warp wood. Apply sealant evenly and allow it to dry completely.
Finally, apply a primer to enhance paint adherence. Use a primer designed for oil painting. This step can’t be skipped. It helps your artwork last longer.
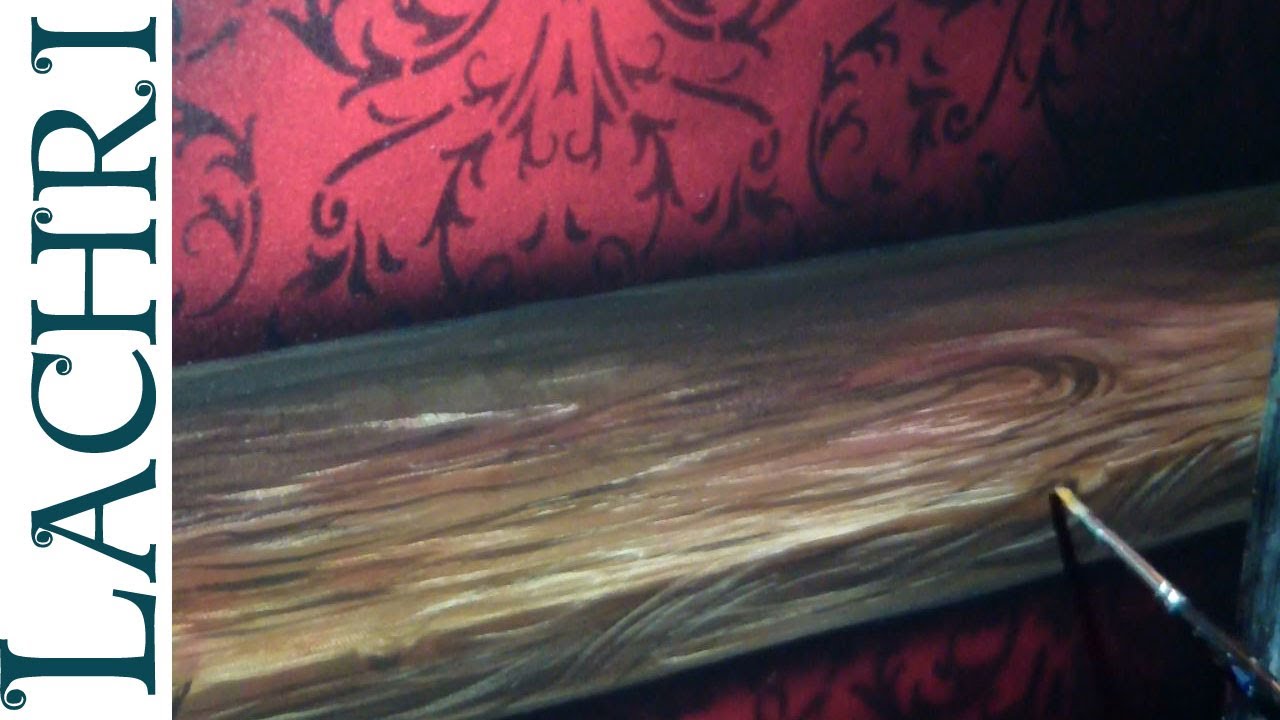
Credit: www.youtube.com
Oil Painting Techniques On Wood
Layering and glazing are key oil painting techniques on wood. To achieve depth, artists apply thin, transparent layers of color. This process, known as glazing, creates a luminous effect. Each layer must dry before applying the next.
For Impasto and texture, thick paint layers add dimension. Using a palette knife, artists can create raised surfaces. This technique allows for a more tactile experience, inviting viewers to feel the painting’s texture.
Incorporating the wood’s natural tones can enhance an artwork’s beauty. Artists often leave areas unpainted. This lets the wood grain contribute to the painting’s aesthetic. It creates a harmony between medium and message.
Protecting Your Oil Painting On Wood
To keep your oil painting on wood looking great, it is essential to apply varnish. Varnishing acts as a shield against dirt, dust, and light damage. Use a high-quality varnish that matches your oil paint’s finish. Whether glossy or matte, choose a varnish that enhances your artwork’s visual appeal.
Proper handling is key to maintaining your oil painting. Always have clean, dry hands or use gloves when touching the painting. Display the painting in a stable environment; avoid extreme temperatures and humidity. Direct sunlight and moisture can ruin the paint, so place your artwork away from such harmful elements.
| Environmental Factor | Effect on Painting | Preventive Measure |
|---|---|---|
| Light | Fading colors | Display out of direct sunlight |
| Humidity | Wood expansion | Control room humidity |
| Temperature | Cracking paint | Avoid extreme temperatures |
Inspirational Examples And Case Studies
Historical masterpieces shine on wood canvases. Artists like Leonardo da Vinci used wood for lasting art. Different wood types affect the paint’s look and feel.
Contemporary creators find wood to be a unique surface. They cherish its natural texture in their artworks. This brings a special quality to modern oil paintings.
| Step | Details |
|---|---|
| Preparation | Sanding the wood makes it smooth. |
| Priming | A primer layer is essential for grip. |
| Sketching | Artists draw a simple outline first. |
| Layering | Oils are applied in thin layers. |
| Drying | Oils need time to dry between layers. |
| Finishing | A sealant protects the finished work. |
Credit: www.youtube.com
Conclusion
Exploring the versatility of wood as a canvas for oil painting opens new creative avenues. With the right preparation and technique, artists can achieve stunning, durable works of art. Embrace this medium to bring a natural, warm touch to your oil paintings and watch how the grain adds depth to your artistic vision.
Dive into the adventure of oil on wood and let your imagination flourish.
I’m Robert M. Payne, a passionate enthusiast for turning houses into dream homes. With a knack for DIY projects and a keen eye for design, I’ve dedicated myself to sharing my knowledge and experiences in the realm of home improvement.
As a seasoned homeowner and avid DIYer, I understand the challenges and joys that come with transforming living spaces. Through Myhomemyworld, I aim to inspire and guide fellow homeowners on their journey to creating spaces that reflect both functionality and style.
Cheers to creating spaces that truly feel like home.
Connect with me in facebook