
Yes, you can paint prefinished plywood, but proper surface preparation is essential. Ensure the surface is clean, lightly sanded, and primed, if necessary, for the best results.
Prefinished plywood offers convenience and durability, as it comes with a coating that is usually resistant to moisture and wear. Yet, there are instances where a custom color or finish is desired, leading many to contemplate painting over the original surface.
Whether you’re working on home improvements, crafting furniture, or embarking on an art project, this versatile material can indeed be painted. Achieving a high-quality finish involves some prep work—gentle sanding to roughen up the slick surface and possibly applying a primer to ensure the paint adheres well. Choosing the right type of paint and applying it with the appropriate tools will transform your prefinished plywood into a personalized piece that fits your vision.
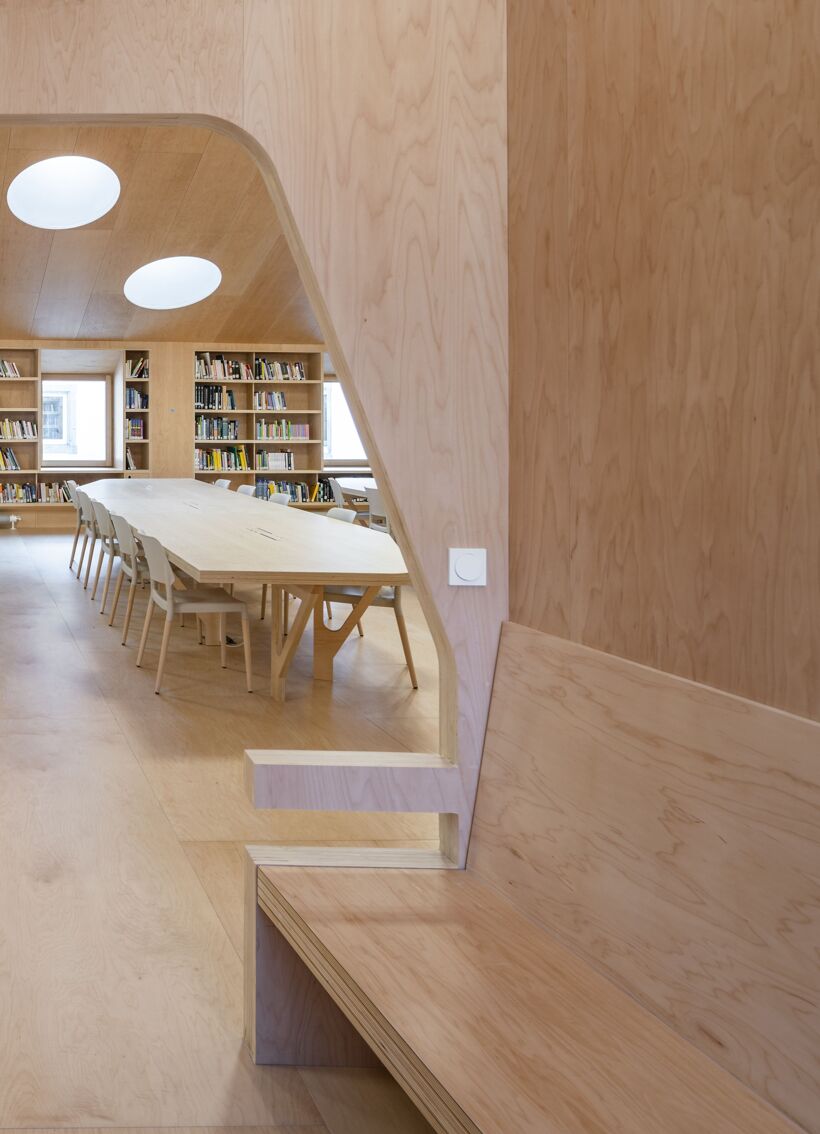
Credit: www.garnica.one
The Nature Of Prefinished Plywood
Painting prefinished plywood can be a challenge. The coating on prefinished plywood is designed for durability and resistance. This means that adhesion can be problematic for new paint. Unlike raw plywood, prefinished surfaces don’t easily absorb paint. A key consideration is the type of finish initially applied to the plywood.
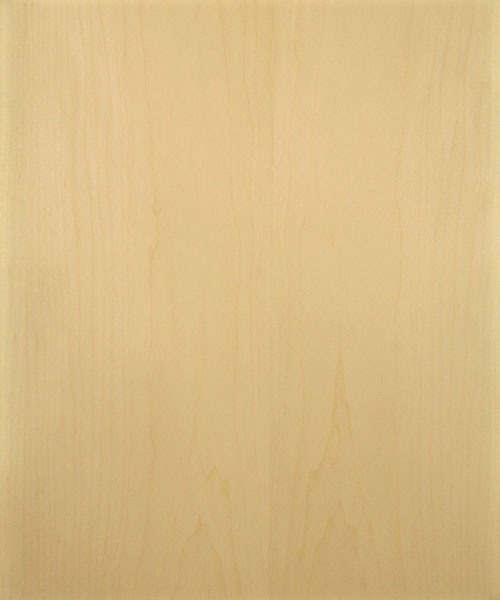
Raw plywood has no protective layers, offering a blank canvas for painting. Prefinished plywood, on the other hand, comes with a factory-applied finish. This layer provides protection against moisture and wear. It is typically a clear coat or a veneer that gives the wood a glossy appearance.
| Prefinished Plywood | Raw Plywood |
|---|---|
| Has a protective finish | Needs priming and sanding |
| Resistant to moisture | Absorbs paint well |
| Can be harder to paint | Offers a smooth surface for paint |
Preparation For Painting
Proper preparation is key for successful painting on prefinished plywood. Begin by cleaning the surface thoroughly. Dirt, oils, and residue must go. Use a mixture of warm water and mild detergent. Clean with a soft cloth or sponge and let dry completely.
Should you sand the surface? It’s a common question. Sanding isn’t always necessary. If the surface is smooth and free of defects, you can skip it. But if you see glossy finishes or imperfections, a light sanding helps. It will create a better surface for primer to stick.
Next comes the applying of primer. This is a crucial step. A good primer ensures the paint sticks well and lasts longer. Apply a thin, even coat. Let it dry as the product suggests. Once dried, your plywood is ready for paint.
Choosing The Right Paint And Tools
Painting prefinished plywood requires specific types of paint. Acrylic latex paints are ideal for their durability and ease of cleaning. Oil-based paints, although tougher to work with, provide a strong, protective finish. Alkyd paints can also be a good choice, offering a smooth finish with enhanced durability.
For application, high-quality brushes ensure a smooth, even coat, while foam rollers can cover large areas quickly. Paint sprayers give a professional-grade finish, but may require more skill.
Always apply a sealer before painting to protect the wood and enhance paint adhesion. Topcoats add extra protection and sheen, making your project last longer. Choosing a water-based polyurethane topcoat is wise for a clear, durable finish.
Credit: www.homedepot.com
The Painting Process
Painting prefinished plywood can seem tricky, but it’s feasible with proper steps. Ensure the surface is clean and dust-free before starting. Apply a primer designed for prefinished surfaces to aid in adhesion.
- Use fine-grit sandpaper to smooth the plywood.
- Wipe clean with a tack cloth.
- Apply thin, even coats of paint.
- Allow each layer to dry completely.
Avoid rushing the process to prevent drips. Proper ventilation is crucial to hasten drying. Do not paint in humid conditions.
The drying time will vary based on paint type and environment. Typically, it takes about 24 hours for paint to touch-dry. Wait at least 3 days before heavy use.
Maintenance And Durability
Painting prefinished plywood requires certain steps to ensure longevity. Sealing the fresh paint properly shields it from moisture and wear. Use a clear topcoat after the main paint layers have dried. This acts as a barrier against scratches and scuffs.
To maintain the painted surface, regular cleaning is key. Mild soap and a soft cloth can remove dust and dirt. Avoid abrasive cleaners that could damage the paint. For scratches or chips, small repairs may be needed over time. Touch-up kits or a bit of the original paint can conceal these imperfections.
Assess the paint’s condition annually. Signs like fading or peeling suggest it’s time for a new coat. Before repainting, sand the surface lightly to help the new paint adhere. Remember, a meticulous approach extends the lifespan of your paint job.
Credit: www.cherokeewood.com
Creativity And Customization
Pre-finished plywood opens up a world of creativity. With the right techniques, anyone can personalize this versatile material. DIY enthusiasts can apply bold or subtle hues for unique effects. Mixing paints creates custom shades, perfect for any design theme.
Exploring various painting methods adds texture and depth. Sponges, brushes, or spray methods lead to distinct looks. Plywood is no longer just a structural element but transforms into a canvas for innovation.
Doing it yourself? Painting prefinished plywood can be rewarding. You shape your surrounding through color. Use it for furniture, art pieces, or functional items. Each project reflects your style. What you make tells a personal story.
Conclusion
Absolutely, prefinished plywood can be painted with the right approach. Begin with sanding and priming for better adhesion. Choose suitable paints and follow the steps outlined for a flawless finish. Armed with this knowledge, your prefinished plywood projects will not only look professional but also stand the test of time.
Ready, set, paint!
I’m Robert M. Payne, a passionate enthusiast for turning houses into dream homes. With a knack for DIY projects and a keen eye for design, I’ve dedicated myself to sharing my knowledge and experiences in the realm of home improvement.
As a seasoned homeowner and avid DIYer, I understand the challenges and joys that come with transforming living spaces. Through Myhomemyworld, I aim to inspire and guide fellow homeowners on their journey to creating spaces that reflect both functionality and style.
Cheers to creating spaces that truly feel like home.
Connect with me in facebook