
Yes, you can stain cherry wood to enhance its natural hue or change its color. Proper preparation is key for an even application.
Cherry wood, known for its smooth texture and rich, warm undertones, is a favored choice among woodworkers and furniture enthusiasts. Staining cherry wood requires attention to detail to accentuate its fine grain and unique character. The wood absorbs stain well, offering a luxurious finish when done correctly.
It’s essential to select the right type of stain and apply it methodically, ensuring the final product showcases the wood’s inherent beauty. Whether you desire a deeper shade or a subtle shift in tone, staining cherry wood can provide a custom look that highlights the craftsmanship of your piece. Always test your chosen stain on a scrap piece of cherry to predict the outcome before committing to the entire project.
Introduction To Cherry Wood Characteristics
Cherry wood boasts a unique and inviting look. Its natural hue ranges from rich red to reddish brown. Found within are subtle grain patterns that enhance its overall appeal.
The wood’s appearance transforms over time. Exposure to light naturally darkens the hue, showcasing a process termed as the aging process. This color transformation is a cherished feature, often sought by furniture makers and woodworkers alike.
Pre-staining Preparations
Properly preparing cherry wood ensures a beautiful finish. Dirt, oils, and grime can affect stain absorption. Clean the surface with a damp cloth.
After cleaning, sanding is essential. Start with a coarser grit sandpaper. Gradually move to finer grits. This method smooths the wood. It prepares it for even stain application.
Selecting a stain for cherry wood is crucial. Consider the desired finish color and wood’s natural hues. Oil-based stains penetrate deeply. They bring out rich colors and grain patterns.
Water-based stains offer easier cleanup. They dry faster. But, they might not provide the same depth of color. Test your stain choice on a scrap piece to ensure satisfaction.
Staining Techniques For Cherry Wood
Cherry wood requires careful staining techniques to enhance its natural beauty. Begin with a smooth, clean surface. Apply stain using a high-quality brush or soft cloth. Direction matters – always work along the grain. Avoid heavy-handedness to prevent splotches and uneven tones.
After application, wiping off excess is vital. Use a clean cloth, making sure you wipe consistently. Leave no puddles behind! Buffing should be gentle. This approach brings out a rich and uniform color. Don’t rush the drying time. Patience is key to a beautiful finish.
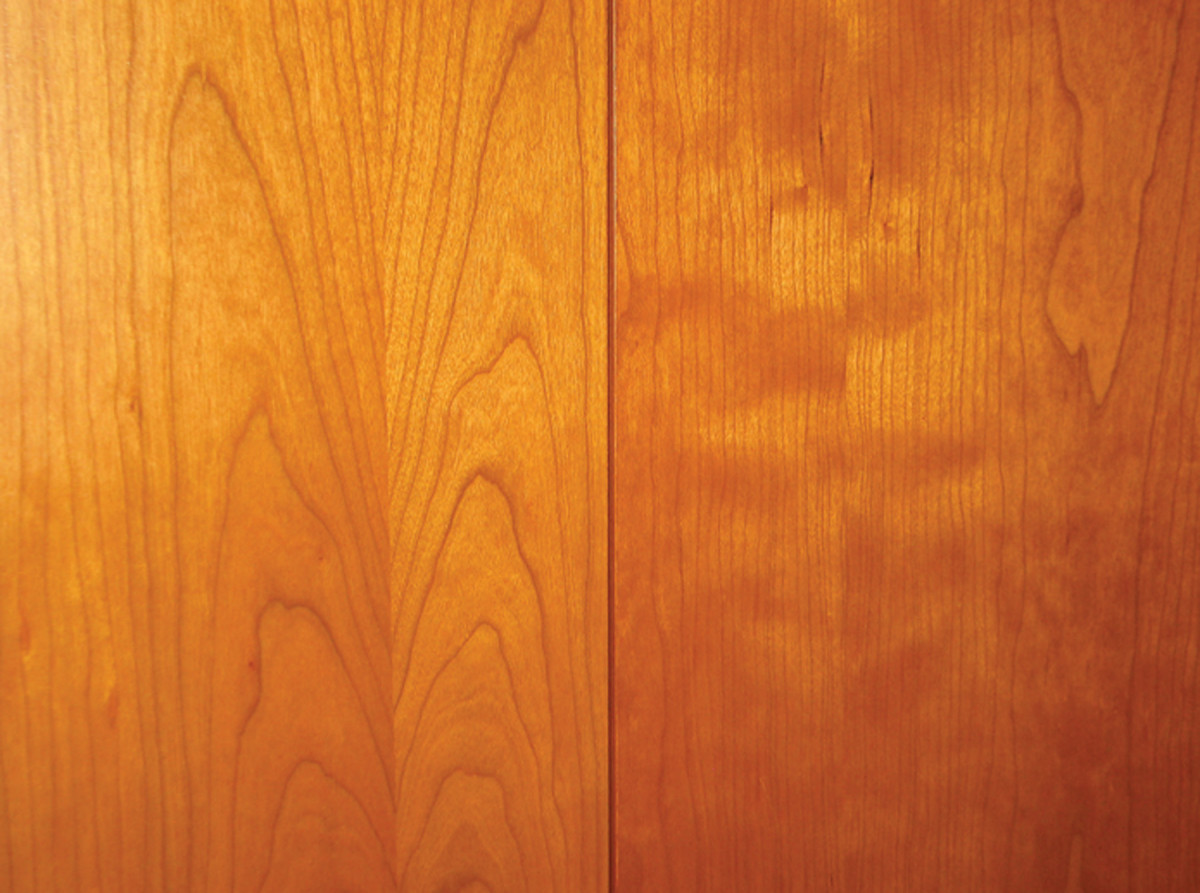
Credit: www.popularwoodworking.com
Pros And Cons Of Staining Cherry Wood
Staining cherry wood can truly enhance its natural beauty. Its rich tones become more vibrant with a good stain. Yet, there’s a risk of uneven color and blotches. Careful application is key to a stunning finish. The wood’s grain and texture are also highlights when stained. You can choose from a variety of shades to match any decor.
Discoloration is a concern with staining cherry wood. Over time, sun and light exposure can change the stain’s color. Maintenance and reapplication may be needed to keep the look. Dark stains might mask the natural grain, which is part of cherry wood’s charm. Choose stains that complement cherry wood’s warm undertones for the best outcome.
Sealing And Protecting Stained Cherry Wood
To ensure your cherry wood maintains its beauty, applying a finish is vital. Selecting the correct type of finish makes a difference. Options like polyurethane, shellac, and varnish protect wood well. Each product offers unique benefits for durability and shine.
Polyurethane provides a tough, protective layer. Shellac adds a classic, warm glow. Varnish creates a durable, hard finish. Always use a high-quality brush or spray applicator for even coverage. Your cherry wood deserves the best protection against wear and tear. To achieve a deep, rich tone, consider multiple thin coats. Allow adequate drying time between each layer.
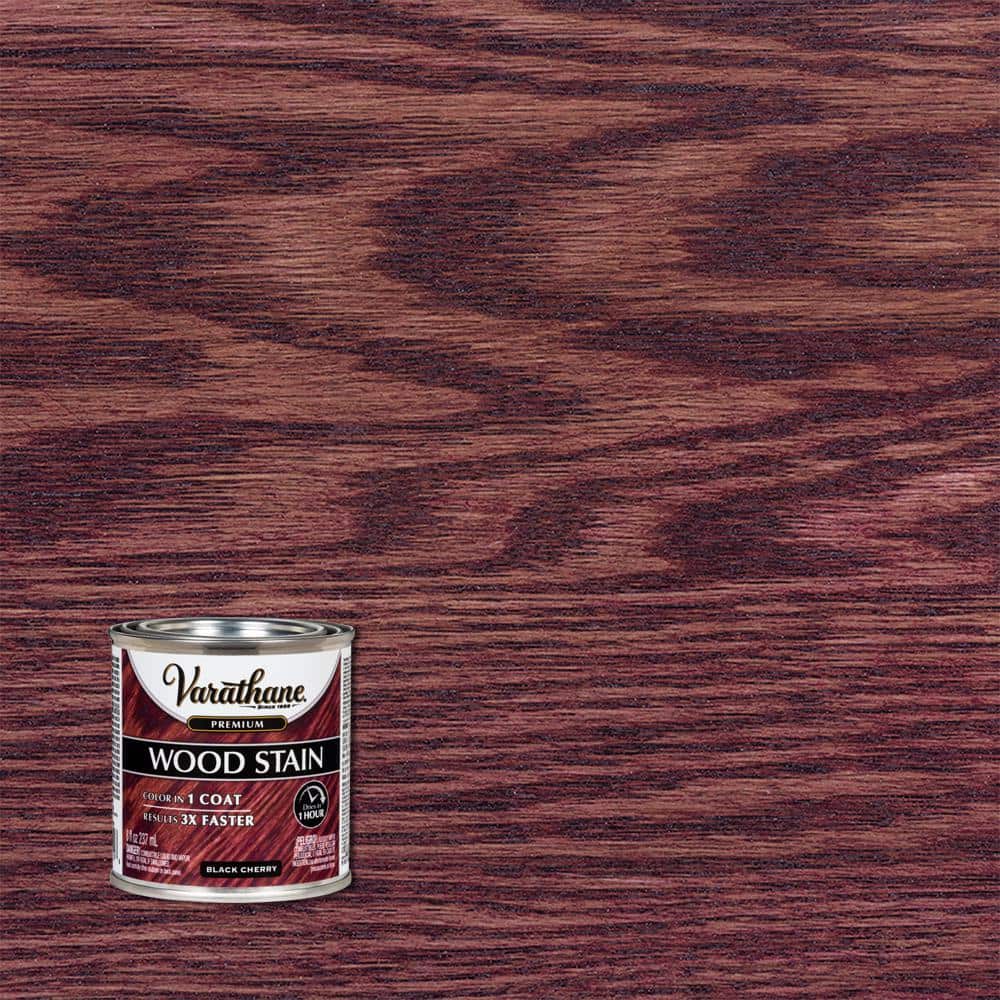
Credit: www.homedepot.com
Care And Maintenance Post-staining
To keep cherry wood looking fresh after staining, regular dusting is vital. Use a soft cloth to pick up dust without scratching the surface. For a deeper clean, a damp cloth can wipe away grime without harming the wood. Always dry it immediately after to prevent moisture damage.
Cherry wood can lighten if left in the sun. Protect it by keeping it away from direct sunlight. Curtains or blinds can help, and consider rearranging furniture occasionally to avoid uneven fading. Using UV-protective polish also helps preserve the wood’s rich color. Remember, light exposure should always be limited.
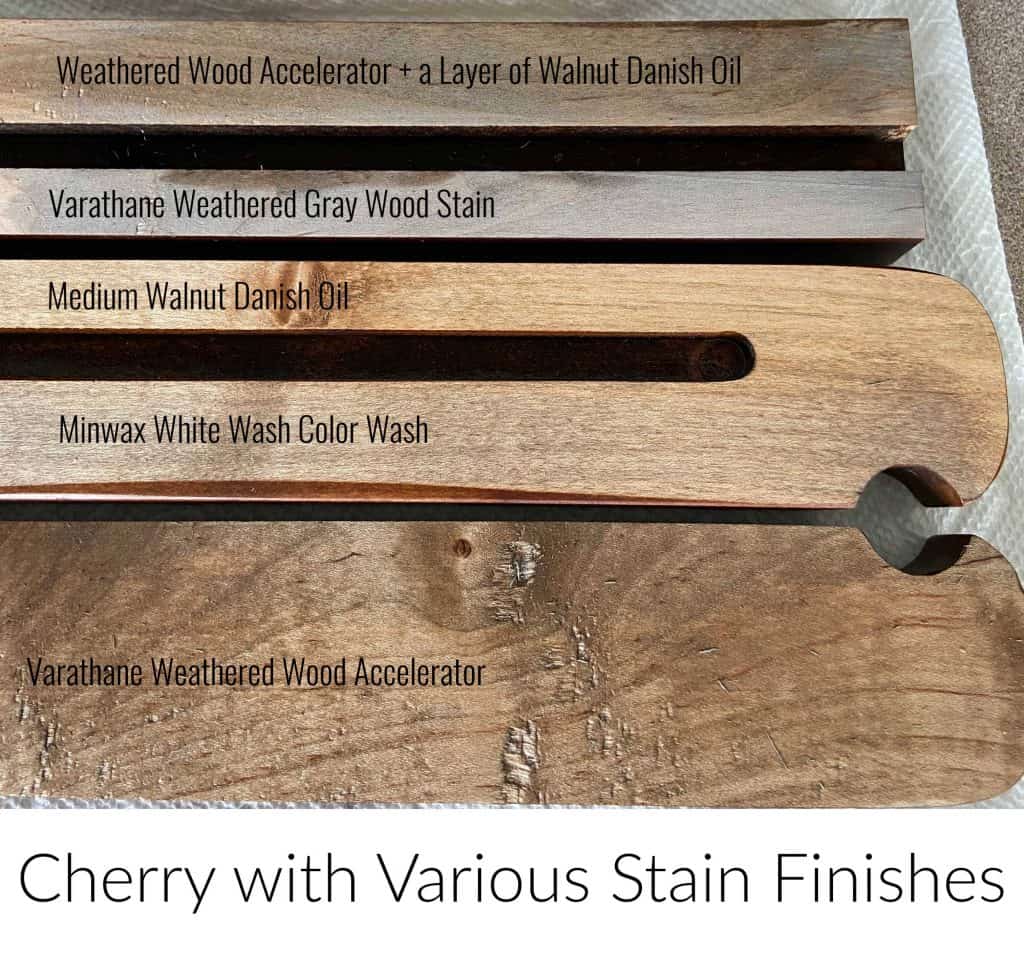
Credit: www.snazzylittlethings.com
Conclusion
Staining cherry wood enhances its natural beauty, adding depth to its rich color. With the right techniques and tools, this task is wholly achievable for DIY enthusiasts and professionals alike. Remember to test stains beforehand, considering wood grain and room lighting.
Happy staining, and may your cherry wood projects thrive with added warmth and elegance!
I’m Robert M. Payne, a passionate enthusiast for turning houses into dream homes. With a knack for DIY projects and a keen eye for design, I’ve dedicated myself to sharing my knowledge and experiences in the realm of home improvement.
As a seasoned homeowner and avid DIYer, I understand the challenges and joys that come with transforming living spaces. Through Myhomemyworld, I aim to inspire and guide fellow homeowners on their journey to creating spaces that reflect both functionality and style.
Cheers to creating spaces that truly feel like home.
Connect with me in facebook