
To fix a broken toilet tank lid, either use epoxy for minor cracks or replace the lid for major damage. Ensure you match the replacement to your tank’s brand and model for a proper fit.
Dealing with a broken toilet tank lid can be a surprisingly stressful situation, as it not only disrupts the functionality of your toilet but can also affect your bathroom’s aesthetic. A cracked or broken lid merits prompt attention, as it can lead to further issues if not addressed.
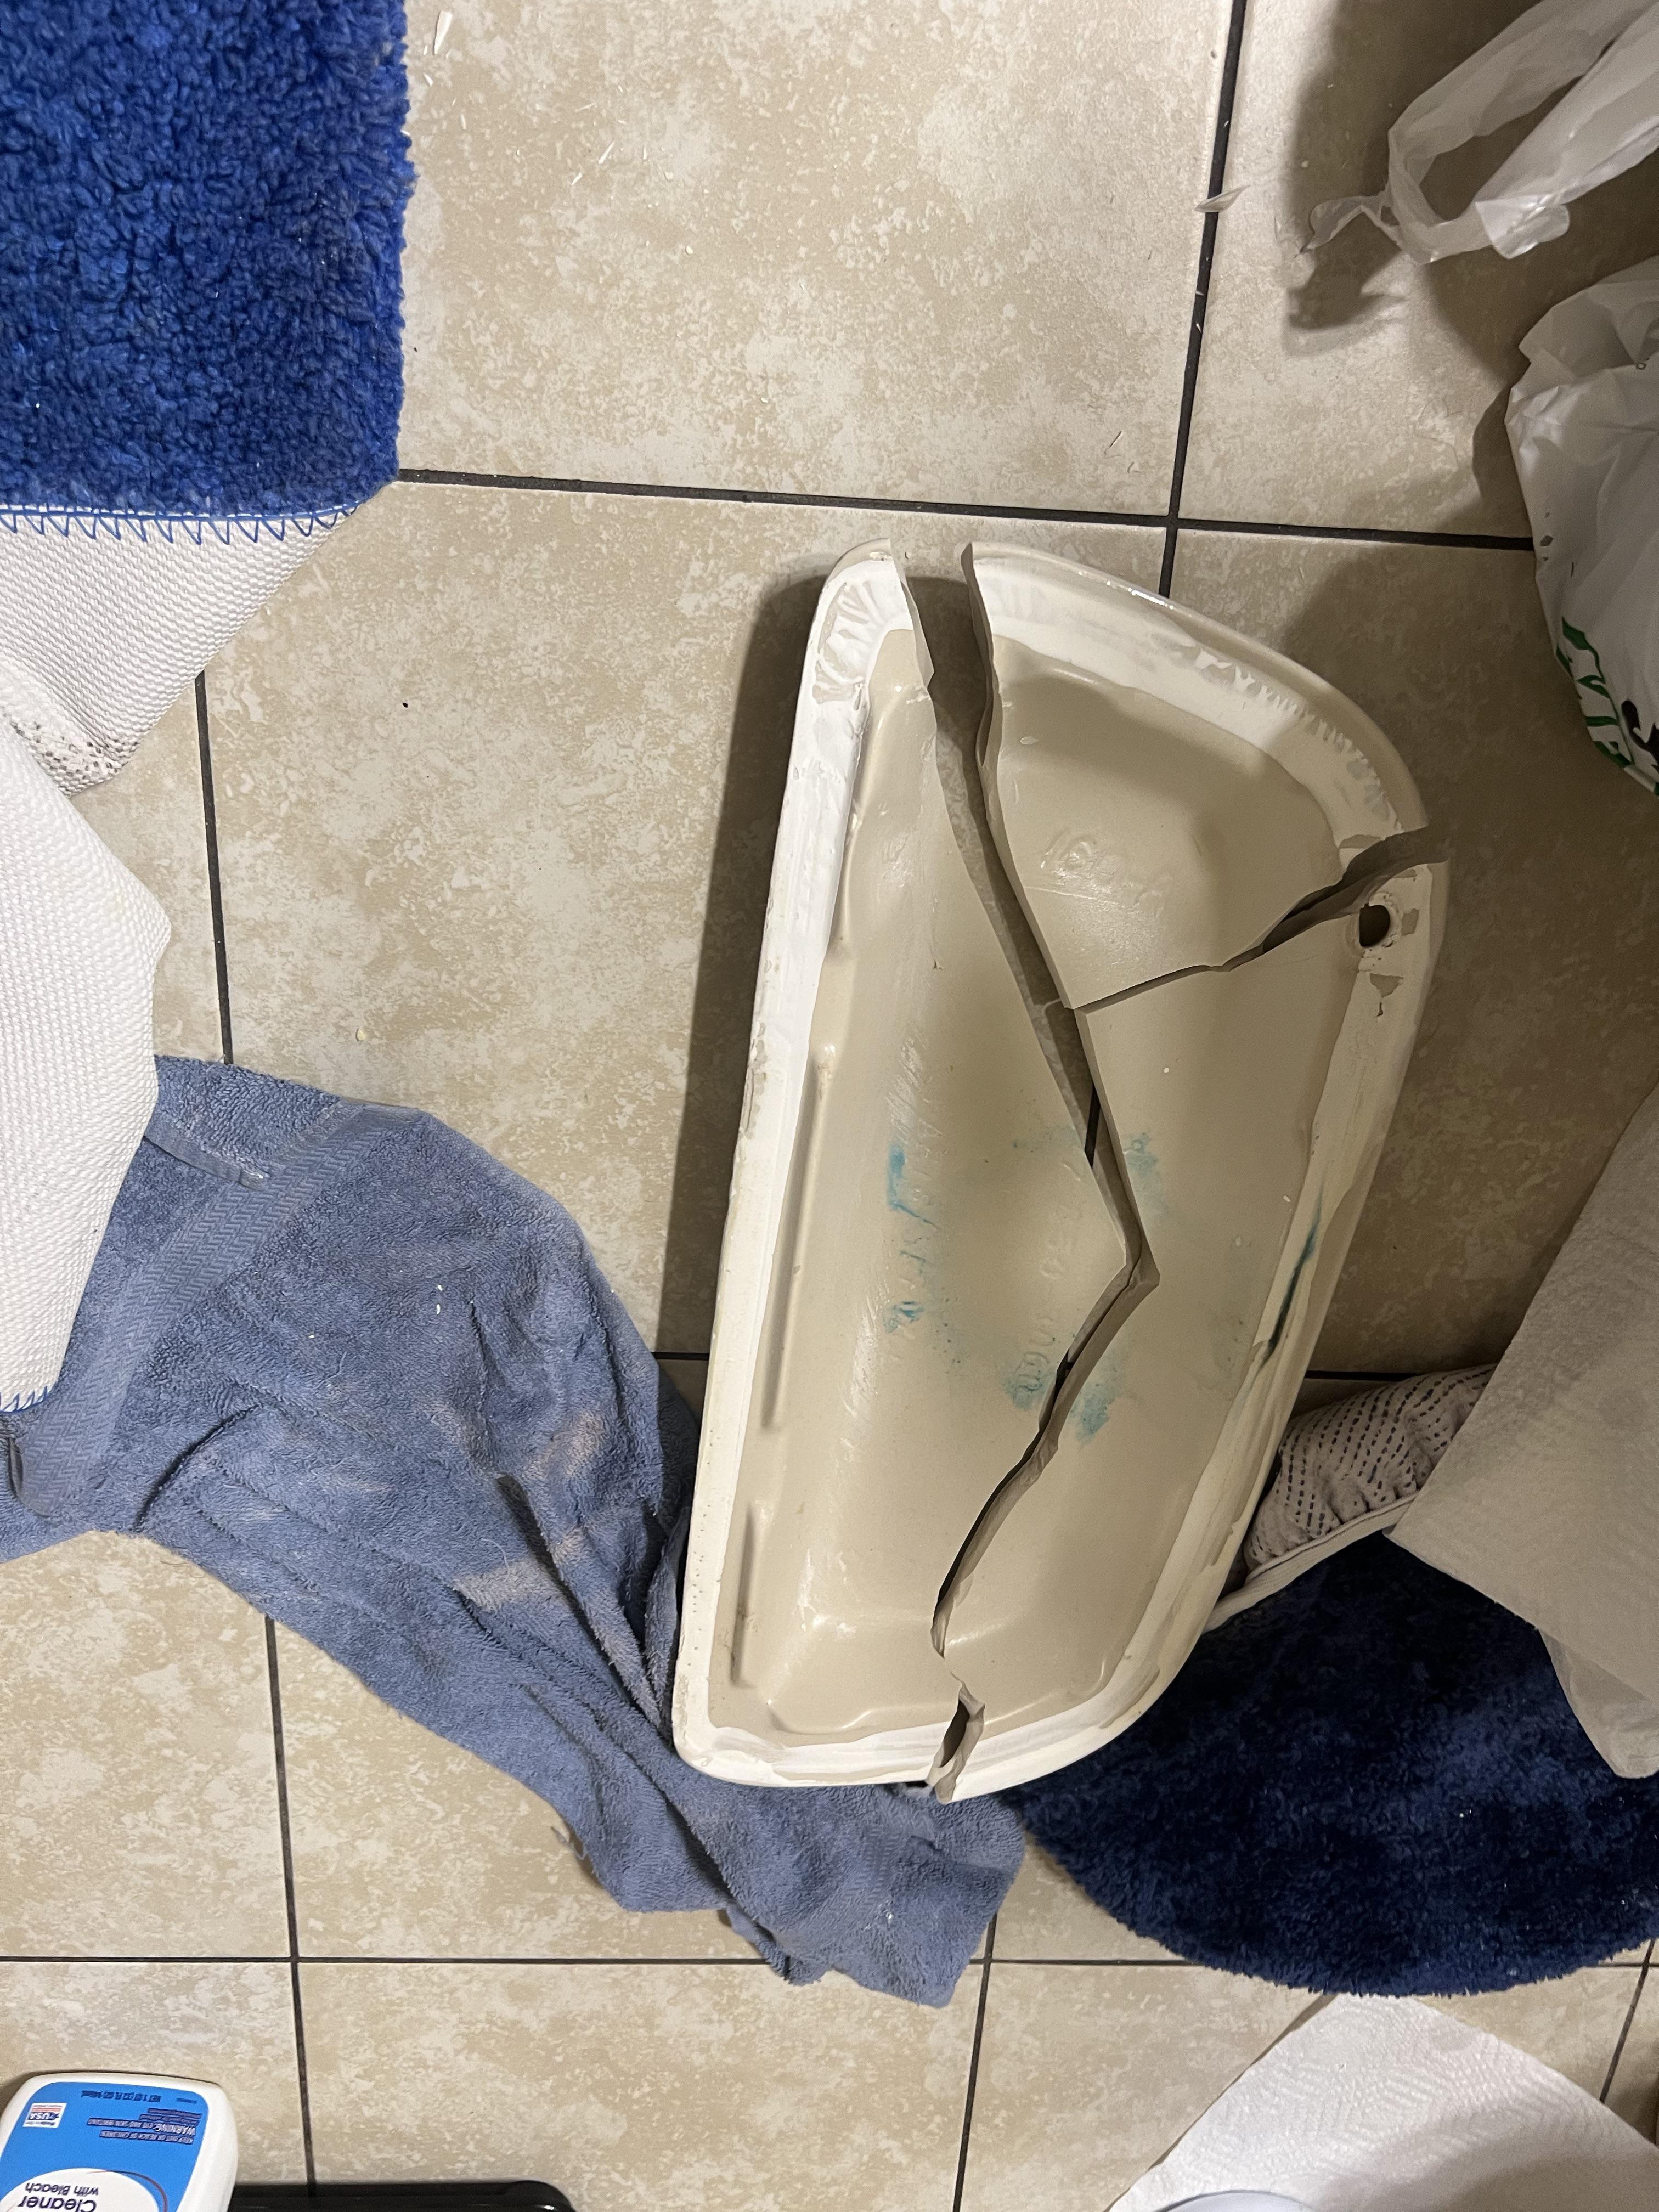
The key to a successful repair lies in assessing the extent of the damage. Small cracks may just require a simple adhesive solution, while larger breaks typically necessitate purchasing a new lid. Keep in mind that finding the correct replacement involves knowing the make and model of your toilet, as an ill-fitting lid can cause additional problems. Tackling this fix with a clear strategy ensures your toilet is back to its fully operational state in no time.
Credit: www.reddit.com
Assessing The Damage
Addressing a broken toilet tank lid requires precision and care. Before jumping into solutions, it is essential to assess the damage thoroughly. This initial stage sets the foundation for a successful repair or leads you towards getting a replacement. Let’s look at how to effectively analyze the damage to decide on the best course of action.
Identifying The Type Of Crack
Begin by examining the crack in the lid. Use a flashlight if necessary to illuminate the damage. Look for hairline cracks or complete breaks. These distinctions greatly affect your repair options. Ensure the area around the crack is clean for a better assessment.
Determining The Severity
Once the type of crack is clear, gauge the damage’s extent. Consider these points:
- Length and width of the crack
- Location – edge or center
- Presence of multiple cracks
A small, single crack holds better prospects for a DIY fix. Multiple cracks or a shattered lid often necessitate a replacement. Record your findings with photos or notes for future reference or for expert advice.
Gathering Necessary Materials
A broken toilet tank lid needs careful handling. Start with the right tools and materials. This guide makes the repair process straightforward and efficient. Let’s prepare to bring your toilet tank lid back to its former glory.
Tools For The Repair Job
A successful fix begins with proper tools. Gather these items before you begin:
- Gloves: to protect your hands
- Eye protection: to keep your eyes safe
- Cloth: for cleaning broken edges
- Sandpaper: to smooth rough surfaces
- Putty knife: to apply adhesive evenly
- Tape: to hold pieces in place while drying
Choosing The Right Adhesive
Not all adhesives work for toilet tank lids. You’ll need something strong and waterproof. Here are options for best results:
| Type of Adhesive | Pros | Cons |
|---|---|---|
| Epoxy Resin | Very strong bond, water-resistant | Requires mixing, longer setting time |
| Super Glue | Quick setting, easy to apply | Not recommended for porous materials |
| Silicone Adhesive | Flexible and waterproof | May not hold under heavy pressure |
Choose epoxy resin for a durable fix or silicone adhesive for minor cracks. Avoid super glue for large or weight-bearing repairs.
Preparing For The Repair
Welcome to the crucial first steps for mending a cracked toilet tank lid. Before diving into the repair, preparation is key. Think of it like a surgery—the cleaner and more organized, the smoother the operation. Let’s ensure the lid is set for a successful fix.
Cleaning The Lid Surface
Begin by laying out the lid on a flat, stable surface. Dust, grime, and water can prevent a good fix. Take a soft cloth or sponge and a gentle cleaner. Gently cleanse the lid’s surface. Pay extra attention to the broken edges. Make sure they are dirt-free and completely dry. This will ensure a better bond when you apply the adhesive later on.
Assembling The Broken Pieces
After cleaning, it’s like putting a puzzle back together. Arrange all the pieces so you know where each one fits. If pieces are missing or too small to use, you’ll know now. This is more than just matching edges. You are ensuring that when glued, the lid will function and look its best. Do this step with care, as a proper fit is essential for the next phase of the repair.
With your workspace ready and pieces organized, the actual repair awaits. Follow these steps for a confident fix.
Executing The Repair Process
Embarking on the Executing the Repair Process journey? A broken toilet tank lid is a nuisance, but with precision and patience, you can mend it back to its original glory. The key steps involve an adhesive application, piece alignment, and allowing proper curing time. Follow these instructions for a seamless repair experience.
Applying The Adhesive
Begin with a strong, waterproof adhesive suitable for ceramics. Ensure the broken edges are clean and dry. Apply the adhesive thinly to one edge of the broken pieces.
- Use gloves to prevent skin contact with the adhesive.
- Apply with precision, avoiding excessive overflow.
Securing The Pieces Together
After adhesive application, align the broken pieces snugly. Press them firmly together to ensure a tight bond. Use masking tape to hold the pieces in place while the adhesive sets.
- Align edges carefully for a seamless fit.
- Secure with tape, ensuring steady pressure is applied.
Curing Time Considerations
| Adhesive Type | Curing Time |
|---|---|
| Epoxy | 6-24 hours |
| Silicone | 12-48 hours |
| Acrylic | 24-72 hours |
Resist the urge to rush the process. Proper curing time is critical for a durable repair. Refer to the adhesive’s instructions for specific curing times.
- Avoid handling the lid during curing.
- Keep in a secure place to prevent movement.
- Wait the full recommended time before reattaching the lid.
Finishing Touches And Preventive Measures
Perfecting your toilet tank lid repair involves finesse and foresightedness. It’s about smoothing the surface and reinforcing the lid to prevent future mishaps. Proper finishing will not only restore the lid’s appearance but also extend its lifespan. Let’s cover some essential steps and strategies.
Sanding For Smoothness
Once glue or epoxy cures, you might notice unevenness. It detracts from the look and feel of the lid. Sanding helps achieve that flawless finish, blending the repair seamlessly with the rest.
- Start with a coarse grit to remove excess adhesive.
- Gradually use finer grit to polish the surface.
- Ensure uniform strokes to avoid gouges.
- Clean the dust after sanding for a pristine look.
Tips To Avoid Future Breakage
To safeguard your toilet tank lid from future damage, you’ll want to practice some preventive tactics. Remember, caution saves both time and costs in the long run.
| Tip | Description | Benefit |
|---|---|---|
| Handle with Care | Always lift the lid by its ends, avoiding pressure on any repaired areas. | Reduces the risk of re-cracking |
| Avoid Heavy Objects | Keep toiletries and tools off the toilet tank lid. | Prevents accidental drops and impacts |
| Regular Checks | Inspect for hairline cracks that may need attention. | Allows for early intervention to stop further damage |
| Protective Padding | Consider adding padding around the tank to cushion any blows. | Offers additional protection against external forces |
Credit: www.youtube.com
When To Consider Replacement
A broken toilet tank lid might seem like a minor issue, but it can lead to bigger problems. Water evaporation, aesthetic damage, and additional breakage are reasons to consider a replacement. If the lid is cracked, it may not be worth repairing. Pieces can fall into the tank, creating a hazard. Scratches or chips can harbor bacteria. Safety and hygiene are top priorities.
Evaluating The Success Of The Repair
Repairing a toilet tank lid can be a temporary fix. Examine the lid after repairs. Check for stability and cracks. A successful repair should withstand regular use. If the lid shows signs of weakness or damage, replacement is the next best step to prevent water loss and maintain restroom cleanliness.
Options For Replacement Lids
Replacement options vary. Brand-specific lids can be pricey. Universal lids are cost-effective and adaptable. Check the size and shape before purchasing. Consider material and durability. Here are some options:
- Manufacturer original parts
- Universal replacement lids
- Custom-made lids
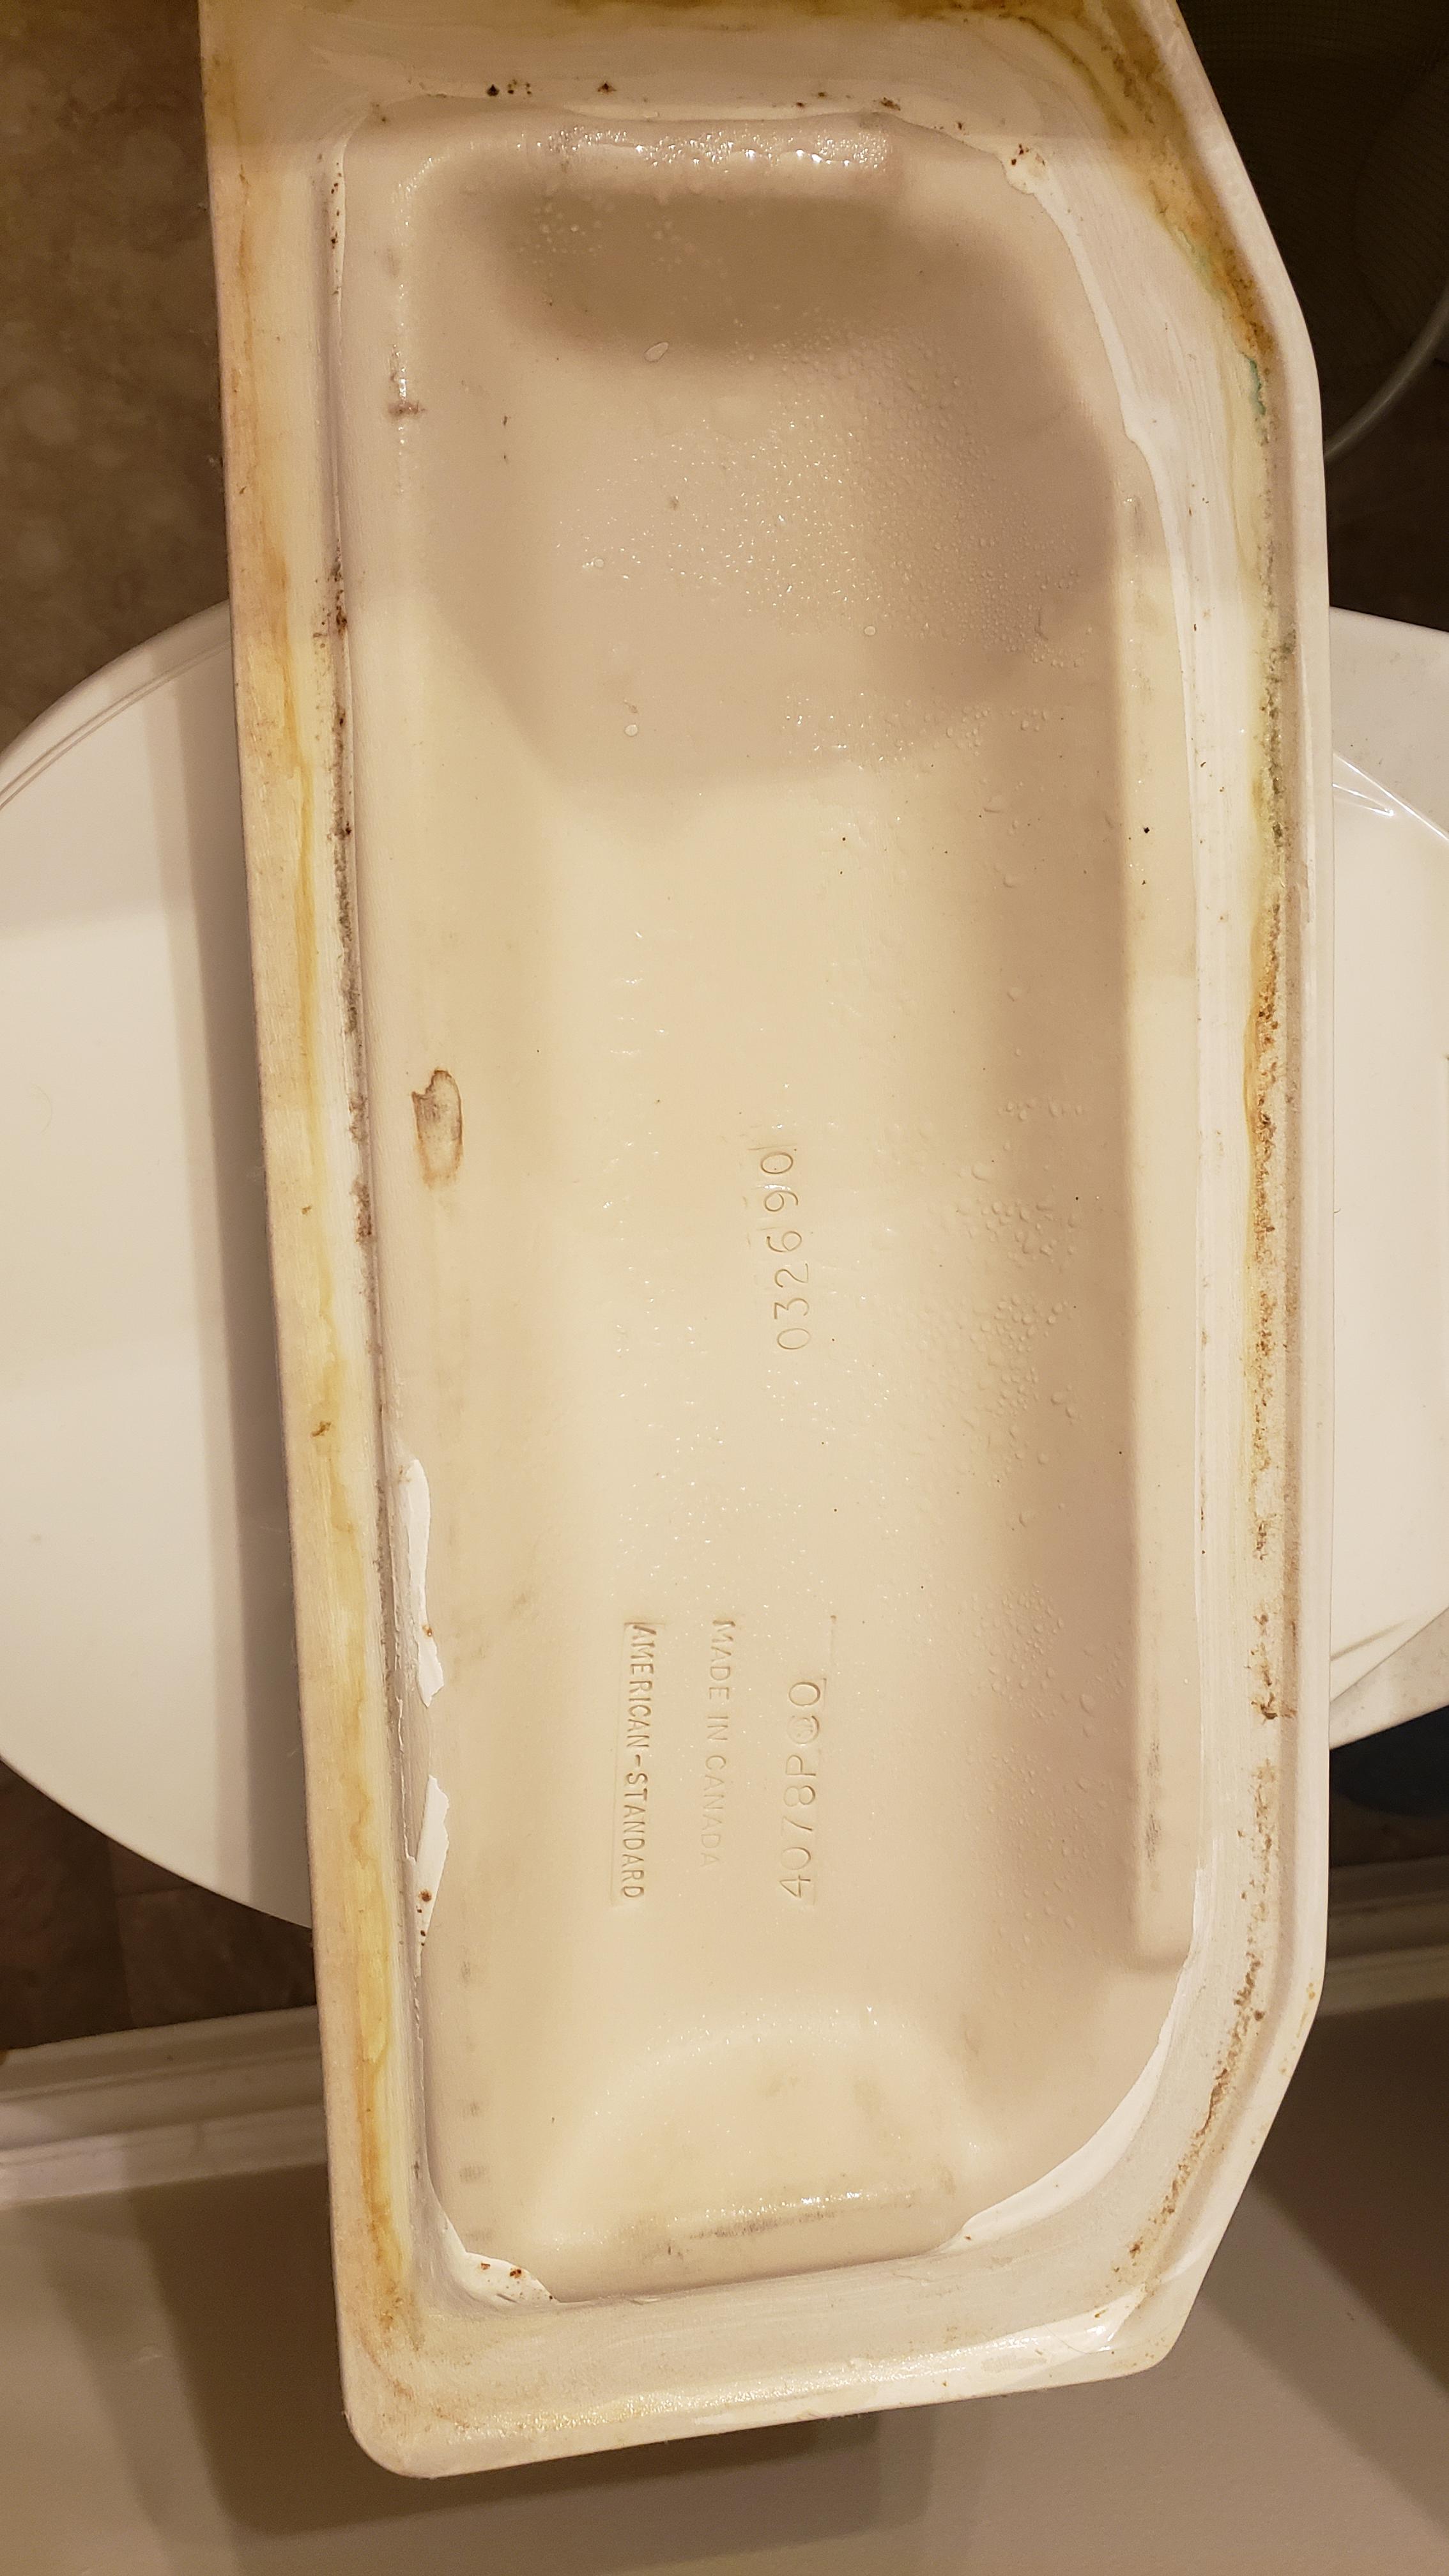
For the best fit, match the model number or take measurements of your current lid to the store. Acrylic and porcelain are popular choices for their durability and ease of cleaning.
Credit: www.reddit.com
Conclusion
Dealing with a broken toilet tank lid can be daunting, but it’s manageable with the right steps. Remember, safety is paramount; handle sharp edges carefully. Seek a replacement that matches your tank’s dimensions. With these tips, fixing your toilet tank is a task well within your grasp.
Reach out to professionals if needed. A functioning bathroom awaits your success!
I’m Robert M. Payne, a passionate enthusiast for turning houses into dream homes. With a knack for DIY projects and a keen eye for design, I’ve dedicated myself to sharing my knowledge and experiences in the realm of home improvement.
As a seasoned homeowner and avid DIYer, I understand the challenges and joys that come with transforming living spaces. Through Myhomemyworld, I aim to inspire and guide fellow homeowners on their journey to creating spaces that reflect both functionality and style.
Cheers to creating spaces that truly feel like home.
Connect with me in facebook