
To paint drywall, first, prepare the surface by cleaning and priming. Then, apply the paint with a roller or brush for a smooth finish.
Painting drywall can significantly transform a room, giving it a refreshed and updated look. The key to a successful paint job lies in thorough preparation and careful application. Before you start, ensure the wall is clean and free of dust or debris.
Using a primer is essential for an even base, which helps the paint to adhere better and lasts longer. Choosing the right type of paint and tools can make a huge difference in the durability and appearance of your walls. It’s important to work with quality supplies and to follow a methodical approach to achieve a professional look. Be sure to select a color that complements your space and meets your design objectives. Remember, precision and patience during preparation and painting will result in a wall that looks like it was painted by a pro.
Credit: www.wikihow.com
Essential Tools And Materials For Dry Wall Painting
For dry wall painting, choosing the correct brushes is key. A synthetic brush works well for water-based paints, while natural bristles are ideal for oil-based paints. Rollers make the job quicker and help cover large areas with ease. A medium nap roller is a good all-rounder for smooth and semi-smooth walls.
Invest in quality paint to ensure a lasting finish. Acrylic latex paints are popular for their durability and easy clean-up. Check the paint’s consistency; too thin may lead to multiple coats while too thick can cause texture issues.
The right preparation supplies are crucial. These include sandpaper for smoothing surfaces, tack cloths to remove dust, and painter’s tape to protect trims and ceilings. Don’t forget a drop cloth to keep floors clean.
Credit: home.howstuffworks.com
Room Preparation For Painting
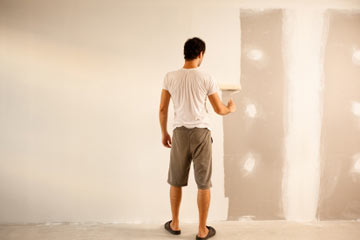
Before painting a dry wall, it’s essential to prepare the room. Start by removing all furniture and decor to create a clear space. For items too heavy to move, push them to the center of the room.
Next, ensure your flooring is safe from paint spills. Lay down drop cloths or plastic sheeting, securing them with tape. Also, cover any furniture left inside to protect from stray splatters.
Finally, use painter’s tape to cover the edges of the room. Apply the tape around door frames, windows, and fixtures. This creates clean lines and protects the surface beneath. Check the tape is flat against the wall to prevent paint from seeping underneath.
Priming For Perfection
Priming drywall is essential before painting. It ensures even paint application and longevity. Without primer, paint may peel or look uneven. Primer creates a smooth base, improving paint adhesion. It also seals the porous surface of drywall, preventing absorption of paint. This step saves paint and money over time.
To apply primer effectively, start with a clean surface. Use a wide brush or roller for large areas. Cut in around edges with a smaller brush. Ensure the primer is evenly distributed. Allow it to dry completely before applying the topcoat. This creates a durable finish and brighter color for your painted walls.
Credit: mattthepainter.com
Applying Paint On Drywall
Before applying paint on drywall, ensure that you mix the paint thoroughly. A uniform consistency is key to a smooth, professional-looking finish. Divide the space into sections and work systematically. Stir the paint well to prevent color variations and to blend in additives that may have settled.
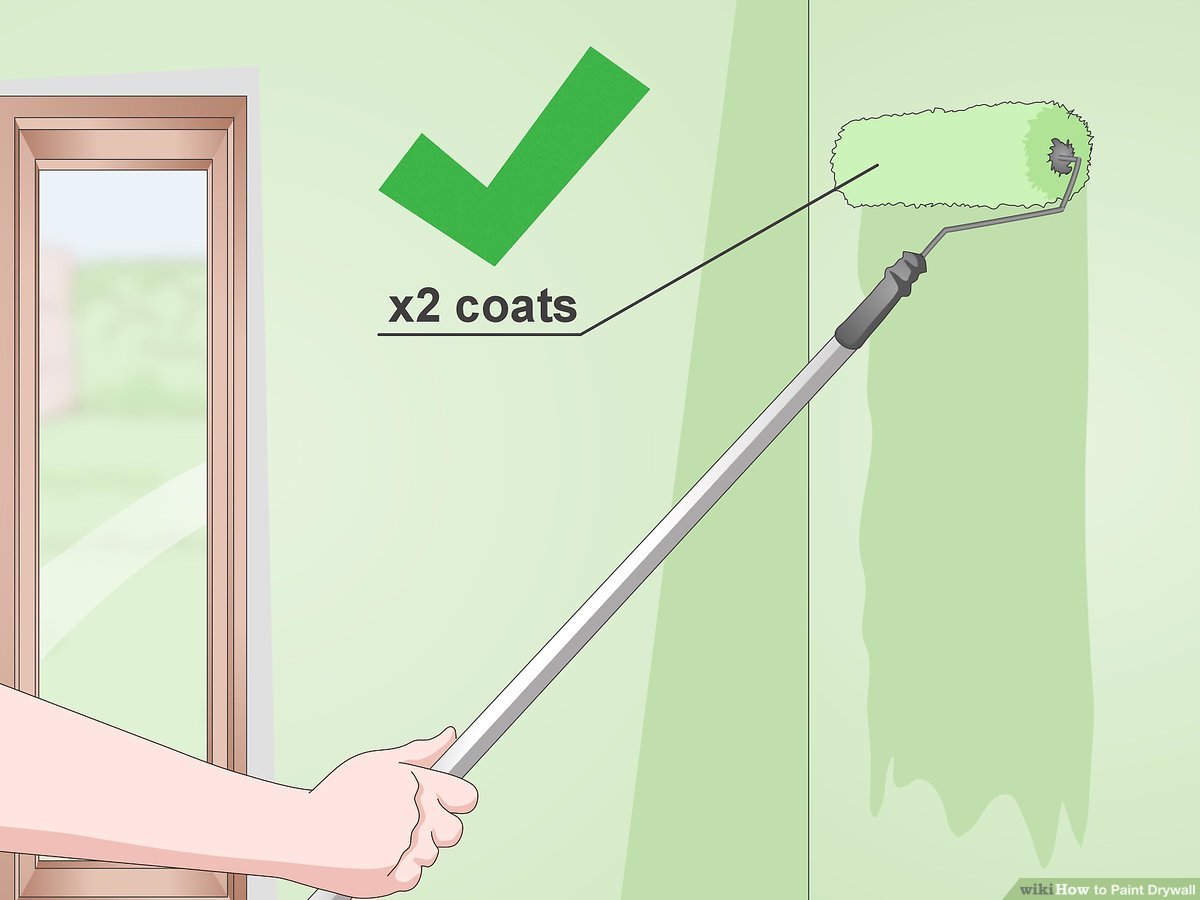
For a smooth finish, use a high-quality roller. Start from the top and work your way down. Apply paint in a ‘W’ pattern and fill in the gaps without lifting the roller. This technique helps distribute paint evenly. Use a smaller brush for corners and edges. These areas need extra attention to ensure full coverage without drips or accumulation.
| Area | Tool | Technique |
|---|---|---|
| Main Wall | Roller | ‘W’ Pattern |
| Edges & Corners | Brush | Precise Strokes |
Drying And Re-coating
Optimal drying conditions for paint on drywall depend on humidity and temperature. Aim for low humidity and a temperature around 70°F. This ensures even and faster drying. A good airflow helps but avoid direct drafts.
The need for a second coat hinges on the paint’s coverage. Check for any uneven spots or missed areas. If the first coat looks uniform and complete, a second may be unnecessary. A simple rule: if the color appears consistent, a second coat is optional.
Cleanup And Maintenance
Cleaning your painting tools right after use is crucial. Use soapy water for water-based paints. For oil-based paints, opt for a solvent. Ensure brushes are completely dry before storage.
Small wall imperfections can be fixed easily. Dip a small brush in the original paint. Cover the spot with a light touch. Always blend edges to match the surrounding area.
Maintain your painted walls by regular dusting. Use a soft cloth or duster. For deeper cleans, a damp sponge works well. Stay away from harsh chemicals as they harm the paint finish. Protect walls with periodic touch-ups as needed.
Conclusion
Painting a drywall may seem daunting, but with the right steps, it’s easy! Remember, preparation is key—clean walls, prime surfaces, and let each coat dry. With these tips, you’ll achieve a professional-looking finish, turning your space into a masterpiece. Now, pick up that brush and transform your room!
I’m Robert M. Payne, a passionate enthusiast for turning houses into dream homes. With a knack for DIY projects and a keen eye for design, I’ve dedicated myself to sharing my knowledge and experiences in the realm of home improvement.
As a seasoned homeowner and avid DIYer, I understand the challenges and joys that come with transforming living spaces. Through Myhomemyworld, I aim to inspire and guide fellow homeowners on their journey to creating spaces that reflect both functionality and style.
Cheers to creating spaces that truly feel like home.
Connect with me in facebook