
To paint a stone wall effect, begin by applying a base coat of paint; then add layers using sponges or textured rollers. Achieving a realistic stone wall effect with paint requires a creative approach and some artistic techniques.
Embrace the transformative power of paint to replicate the rugged charm of a stone wall in your home. Homeowners and DIY enthusiasts alike can recreate the intricate details of natural stone through careful layering of colors and the use of specific tools.
This project can revitalize a room, bringing in an element of rustic elegance without the need for actual stone. A carefully executed stone wall effect adds depth and character to any space, enhancing the overall aesthetic with a touch of nature-inspired texture. Whether you’re looking to feature an accent wall or give a full room makeover, mastering the stone wall paint effect is a cost-effective and satisfying endeavor.
Introduction To Stone Wall Effects
Painting a stone wall effect can bring drama and character to any space. It offers a sense of durability and rustic charm without the weight and cost of real stone. Many homeowners and designers opt for this creative solution. It can revitalize living rooms, enhance outdoor areas, and even boost the ambience of bathrooms. Faux stone walls are also ideal for commercial spaces, such as restaurants or offices, adding a unique touch to the decor. These versatile effects are suitable for various settings, and with the right techniques, anyone can achieve a stunning stone facade.
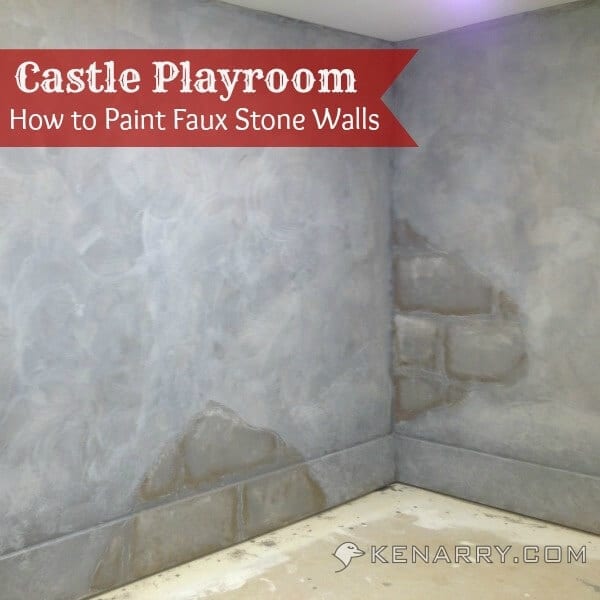
Credit: www.kenarry.com
Materials Needed
To achieve a realistic stone wall effect, choosing high-quality paints and tools is crucial. Opt for latex paints with matte or eggshell finishes. These finishes mimic natural stone textures well. Select shades that resemble real stones, such as grays, browns, and tans.
Use a variety of brushes and sponges. Brushes help with precision, while sponges create a more natural texture. Quality rollers can apply a uniform base coat. A palette knife will add depth with highlights and shadows.
| Item | Use |
| Latex Paints | Base coat and detailing |
| Brushes | Edges and finer details |
| Sponges | Stone texture effect |
| Rollers | Smooth base layer application |
| Palette Knife | Adding depth and highlights |
Remember to get texturizing products too. Things like sand, mica, or texturizing mediums help create a tactile stone feel. Work these products into the paint or apply them after your base coat to get that rough, stony touch.
Preparing Your Surface
Clean your stone wall thoroughly before you start. Use soapy water and a scrub brush. Make sure to remove all dirt and grime from the surface.
After the wall dries, apply a high-quality primer. This step ensures paint sticks well and lasts long. Use a primer designed for stone or masonry.
Credit: www.pinterest.com
Painting Techniques For Stone Wall Effects
To create a realistic stone wall effect, it’s vital to layer colors. Start with a light base coat and let it dry. Then, gently sponge on progressively darker shades. Each layer adds depth and natural variation, just like real stones.
Various tools can mimic stone textures. A sponge creates tiny pores, while a stiff brush makes rougher edges. Even crumpled paper can add unique patterns to your faux stones. Experiment on a sample board before tackling the actual wall for the best results.
Finishing Touches
Creating a stone wall effect relies on great detailing. Artistic brushes bring out the texture. They add light and shade to your stones. This gives a three-dimensional look. It’s like magic on your walls!
Durable results need proper sealing. Use a clear sealant after painting. This keeps the colors safe. It also makes the wall easy to clean. Your beautiful stone effect will last for years.
Maintaining Your Stone Wall Effect
Maintaining your stone wall effect involves simple yet essential steps. To ensure the appearance remains pristine, regular cleaning is a must. Start by gently dusting the surface using a soft brush. This removes loose dirt and debris without scratching the wall. For deeper cleaning, a mild detergent mixed with warm water does wonders.
Apply the solution with a sponge, working in small sections to avoid streaks. Rinse each area with clean, room-temperature water. Dry immediately with a soft towel to prevent water spots. Remember to always test your cleaning solution on a small, inconspicuous area first.
Touch-up strategies help fix small imperfections effectively. Keep leftover paint for quick fixes. Use a small artist’s brush to apply paint to chips or scratches. Blend it outwards for a seamless finish. Be patient; multiple thin layers may be required rather than one thick application.
Credit: www2.ljworld.com
Frequently Asked Questions For How To Paint Stone Wall Effect
What Materials Are Needed For A Stone Wall Effect?
To create a stone wall effect, you need acrylic or latex paint, glaze, sea sponges, a stencil for stone patterns, painter’s tape, and brushes. Don’t forget a base coat paint for the initial layer, aiding in the texture’s realism.
How Do I Prepare Walls For Painting Stone Effects?
Start by cleaning the wall thoroughly, removing dust and grime. Apply a primer suitable for your wall type. Once dry, tape off areas you wish to keep paint-free. A solid base coat is crucial before starting the stone effect.
Can I Paint Stone Effect On Exterior Walls?
Absolutely! Ensure to use exterior-grade paint and sealant to withstand weather conditions. Prepare the surface correctly and choose a dry day to paint for the best results. Exterior stone effects can dramatically enhance curb appeal.
How Long Does It Take To Paint A Stone Wall Effect?
The time it takes can vary, but typically it requires at least a couple of days. This accounts for preparation, layering, and drying times between coats. A more intricate stone pattern might add additional time.
Conclusion
Creating the illusion of a stone wall can utterly transform a space. By following the steps outlined, you’ll achieve a realistic look that adds character to any room. Remember to let each layer dry and always practice your technique beforehand.
With patience and creativity, your walls will exude the rustic charm of natural stone. Happy painting!
I’m Robert M. Payne, a passionate enthusiast for turning houses into dream homes. With a knack for DIY projects and a keen eye for design, I’ve dedicated myself to sharing my knowledge and experiences in the realm of home improvement.
As a seasoned homeowner and avid DIYer, I understand the challenges and joys that come with transforming living spaces. Through Myhomemyworld, I aim to inspire and guide fellow homeowners on their journey to creating spaces that reflect both functionality and style.
Cheers to creating spaces that truly feel like home.
Connect with me in facebook