
To paint above kitchen cabinets, clear the area and apply painter’s tape for clean edges. Choose a durable, moisture-resistant paint for the best finish.
Painting above kitchen cabinets refreshes one of the most frequented rooms in the home. It requires precision and the right materials to withstand the kitchen’s fluctuating temperatures and humidity levels. Before you begin, ensure that the space is well-ventilated and that you have all necessary tools on hand.
Selecting a high-quality paint that can handle the kitchen environment will ensure a long-lasting, appealing look. Employ a steady hand and a step ladder for safety and reach. This simple upgrade can brighten your kitchen and give it a clean, rejuvenated appearance without the need for major renovations.
Credit: www.hgtv.com
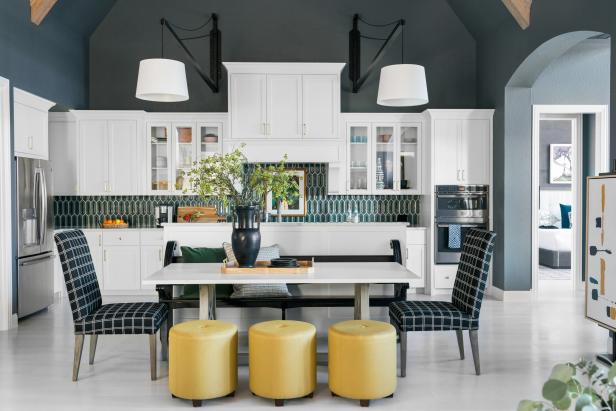
Introduction To Cabinet Painting
DIY cabinet makeovers are gaining popularity among homeowners. Many people enjoy the personal satisfaction and savings from doing it themselves. Still, painting above kitchen cabinets presents unique challenges. Care is essential to avoid drips. Proper surface preparation is crucial for a smooth finish.
Working in the tight space between the cabinets and ceiling requires patience and the right tools. Without attention to detail, you might see uneven paint lines or missed spots. These pitfalls can detract from the beauty of your kitchen. Taking your time and focusing on proper technique will lead to professional-looking results.
Preparation Is Key
Proper preparation before painting ensures a smooth finish and lasting results. Here’s what’s needed:
- High-quality paint - Choose a durable, washable type.
- Primer - It helps paint stick better and last longer.
- Brushes and rollers - For even application.
- Painter’s tape - Protects against splatters.
Start by cleaning cabinet surfaces with a degreaser. Then, sand them down to remove old paint and create a smooth base. Always ensure the room is well-ventilated.
Don’t forget to shield countertops and appliances. Use plastic sheets or drop cloths. Secure them with painter’s tape for extra protection.
Step-by-step Painting Guide
Applying primer ensures a long-lasting finish on kitchen cabinets. Make sure surfaces are clean before primer application. Use a high-quality brush or roller for uniform coverage. Apply primer in thin, even layers. Let the primer dry completely.
For smooth paint application, maintain a wet edge to avoid marks. Start from the top, moving downwards. Employ a foam roller for flat surfaces and a brush for corners. Ensure consistency in paint thickness. Avoid overbrushing to prevent visible streaks.
Regarding drying time and additional coats, patience is key. Wait for the first coat to dry thoroughly. This may take a few hours. A second or third coat magnifies durability and appearance. Repeat the smooth application process. Allow ample drying time between coats. Check the paint can for specific drying times.
Navigating Challenges
Painting above kitchen cabinets can be tricky. You must deal with narrow spaces. Careful planning ensures you can reach these areas. Use a small brush or angled sash brush for better control.
To avoid drips and streaks, apply paint evenly and in thin layers. A drip-catching cloth beneath the area can help. Use painter’s tape to protect surfaces from mistakes.
Consistent strokes are key to even coverage. Try using a mini roller for a smoother finish. Check your work from various angles to spot misses.
Finishing Touches
After painting kitchen cabinets, reattaching hardware and fixtures is key. Make sure all knobs, pulls, and hinges are secured tightly. This will give your cabinets a professional finish. Apply a thin bead of caulk to seal edges. It ensures a clean and sharp look, stopping paint from peeling later.
- Wipe cabinets weekly with a soft, damp cloth.
- Avoid harsh chemicals that might damage the paint finish.
- Touch-up any chips or scratches promptly to protect the wood.
Regular care will keep your painted cabinets looking fresh. A little effort goes a long way in kitchen maintenance.
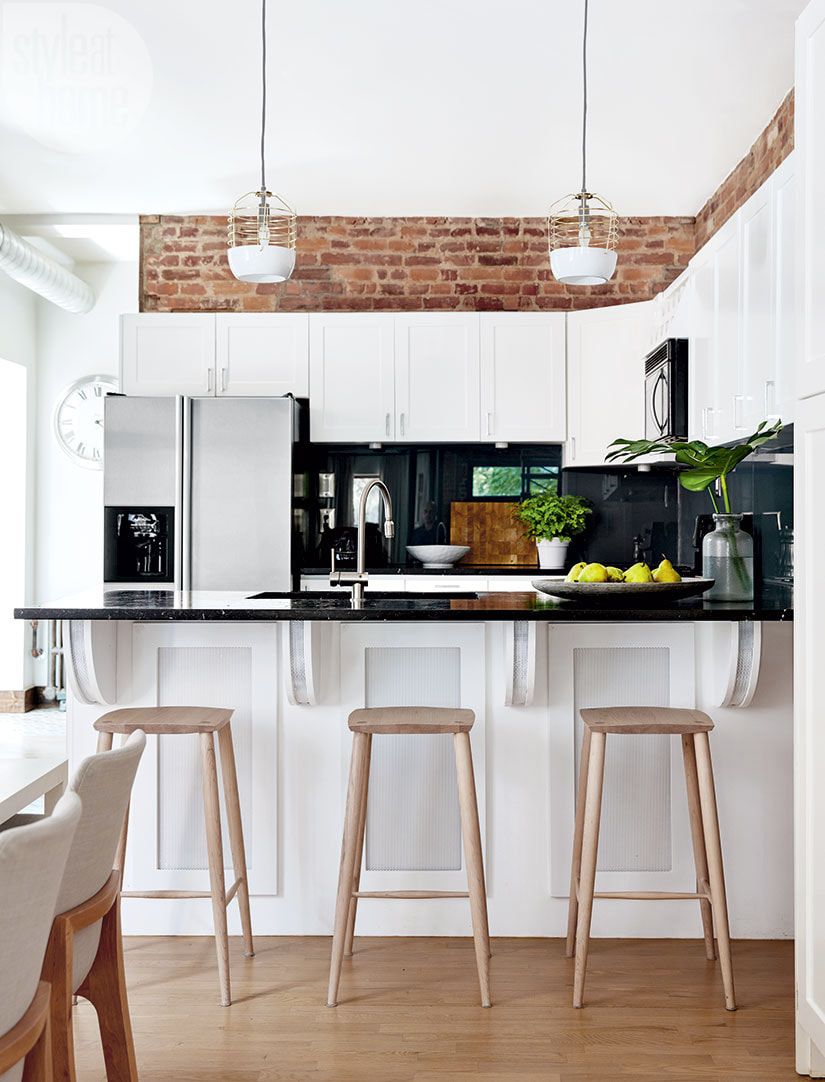
Credit: www.doityourself.com
Before And After: The Transformation
The upgrade to painted cabinets strikes a stunning contrast against your kitchen’s backdrop. Not only does it refresh the room’s look, but also boosts home value. Plain wood or outdated colors give way to modern tones that brighten your space. This change alone transforms your kitchen’s atmosphere, making it a highlight of your home.
Choosing the right color can amplify light and create an inviting feel. It shows your unique style and care for your home. With every brush stroke, watch as your kitchen goes from ordinary to extraordinary. This smart move not just enhances kitchen appeal, but also makes a powerful statement about your home’s overall charm.
Credit: www.housebeautiful.com
Frequently Asked Questions On How To Paint Above Kitchen Cabinets
What Is The Best Paint For Kitchen Cabinets?
The ideal paint for kitchen cabinets is a semi-gloss or gloss finish. These finishes are durable, easy to clean, and provide a sleek look. Choose oil-based or high-quality acrylic paints for long-lasting results.
How To Prepare Cabinets For Painting?
Before painting, clean surfaces thoroughly with a degreaser. Then, sand them lightly to create a rough surface for better paint adhesion. Finally, wipe down with a tack cloth to remove any dust.
Can I Paint Cabinets Without Removing Doors?
Yes, you can paint cabinets without removing the doors, but it’s not recommended. Removing doors ensures a more professional finish by allowing you to paint edges and hard-to-reach areas more effectively.
How Long Does It Take To Paint Kitchen Cabinets?
Painting kitchen cabinets typically requires a weekend to complete. This includes preparation, priming, and painting multiple coats. Drying time between coats can vary, so check the paint’s guidelines.
Conclusion
Ready to elevate your kitchen’s aesthetic with a fresh coat of paint above the cabinets? Embrace the tips shared, and watch your space transform vividly. Be patient, stay safe up there, and soon, you’ll revel in the remarkable difference. Happy painting, and enjoy the refreshed vibe of your kitchen oasis!
I’m Robert M. Payne, a passionate enthusiast for turning houses into dream homes. With a knack for DIY projects and a keen eye for design, I’ve dedicated myself to sharing my knowledge and experiences in the realm of home improvement.
As a seasoned homeowner and avid DIYer, I understand the challenges and joys that come with transforming living spaces. Through Myhomemyworld, I aim to inspire and guide fellow homeowners on their journey to creating spaces that reflect both functionality and style.
Cheers to creating spaces that truly feel like home.
Connect with me in facebook